Find a Rental Location:
Search for a Rental Location by Zip or Postal Code
Pro Portable Carpet Cleaner Rug Doctor by BISSELL

Support for Pro Portable Detailer & Spot Cleaner

Find how-to step by step operation instructions and troubleshooting below. Please refer to the How-to Guide for important safety instructions.

How to Use the Pro Portable Detailer & Spot Cleaner

Step 1: Check Fabrics and Prepare the Area

Check the manufacturers tag for cleaning instructions. If there is a W or W/S on the tag it means you can use water for cleaning and you can clean it with a spot cleaner. If it is coded S or X or says “”Dry Clean Only””, do not use the spot cleaner and contact the manufacturer for cleaning instructions.

Always test the cleaning solution and spot cleaner in an inconspicuous spot or hidden area and allow it to dry before proceeding. If upholstery color is affected, do not use the spot cleaner.

Thoroughly vacuum the upholstery, stairs, rug or area before you begin using the spot cleaner.

Step 2: Prepare The Spot Cleaner Rental Machine

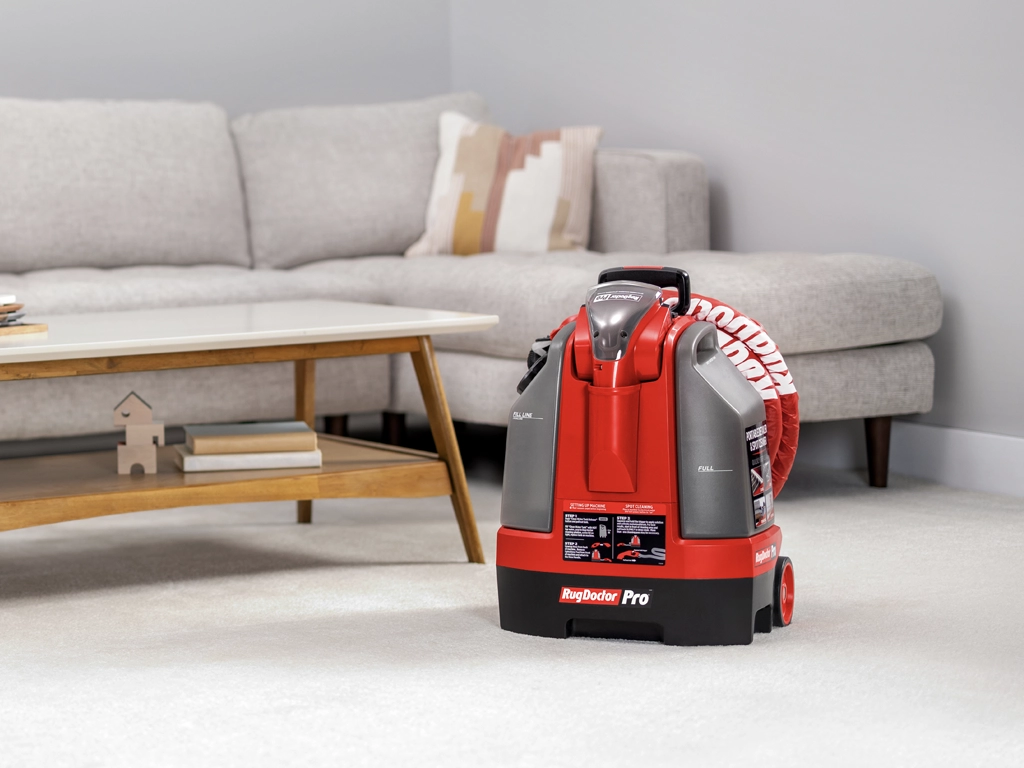
The Clean Water Tank is the tank located on the left side of the machine. Push the Clean Water Tank Release Button and pull the tank in an outward motion to release tank. Unscrew the Easy Measure Solution Pour Cap from the Clean Water Tank. Fill the tank with hot tap water until it reaches the fill line. Only use Rug Doctor® or BISSELL® cleaning formula. Follow the directions on the back of the cleaning solution and fill the pour cap with the recommended ounces of solution. The Clean Water Tank holds .75 gallons of water. Tightly screw the cap back onto the tank. Securely place the tank back onto the machine. You will hear a “”click”” sound when the tank has locked into place.

Remove the Motorized Upholstery Tool by lifting from the front of the machine. Slide the Tool Handle out from the Tool Handle Holster on the back. Unwrap the Hose from the Tool Hose Wrap on the back of the machine. Once separate from the machine, connect the Motorized Upholstery Tool and Tool Handle. Press the two pieces together until you hear a “click” to assure a tight connection. Plug into a properly grounded outlet and turn on the machine.

Step 3: Deep Clean Your Upholstery or Carpet

Squeeze and hold the Cleaning Solution Trigger while slowly moving the tool back and forth over the stain or area. Release the trigger when complete. Excess solution can be removed by making additional passes with the tool without squeezing the trigger. This may permit faster drying.

The Dirty Water Tank is on the right side of the machine. When the dirty water reaches the “FULL” line, it’s time to empty it. Push the Dirty Water Tank Release Button and pull the tank in an outward motion to release. Remove the tank and carry to disposal area. Unscrew the Wide Opening Lid on the back of the tank, remove the Dirty Water Tank Float and pour out the dirty water. Rinse out tank to remove any debris. Screw lid back on tank. Securely place the tank back onto the machine, you will hear a “”click”” sound when it has locked into place.
How to Clean Machine & Tools Before Returning

Be kind and please return the machine back in the condition that you would want for your next cleaning job. Unplug the machine and:

  • Suction clean water from a sink or bucket to rinse out the hose. Lift end of hose to ensure all water is cleared. Leave machine running for 15 seconds to allow all water to be collected in the tank.
  • Empty and rinse both the dirty and clean water tanks, removing all dirt and debris.
  • Remove any debris from the tool and run it under clean, running water to rinse.
  • Place the tool and tool handle back on the machine. Wrap and secure the flex hose and power cord.
  • Wipe off all dirt and debris from the outside of the unit.

To avoid a $40 cleaning fee, the rental machine MUST be returned in a clean, rentable condition.

Troubleshooting

Issue:Power Cord not plugged in
How to Fix:Plug Power Cord into wall outlet.

Issue:Power Button not turned on
How to Fix:Press Power Button to "ON" position.

Issue:Solution Hose Connector not installed properly
How to Fix:Disconnect plastic Solution Hose connector at end of small tubing and wire by pinching on top and bottom. Reconnect Solution Hose connector, making sure it clicks into place. Check additional connections to ensure they are installed properly.
Issue:Not pressing Cleaning Solution Trigger
How to Fix:Press and hold Cleaning Solution Trigger.

Issue:Clean Water Tank is empty or low
How to Fix:Fill Clean Water Tank with water and solution.

Issue:Clean Water Tank is not locked or installed correctly
How to Fix:Lift up Clean Water Tank, and place back into position. Tank should click into place when positioned properly.

Issue:Valve of Clean Water Tank is clogged
How to Fix:Remove valve from bottom of Clean Water Tank. Clean with warm soapy water.

Issue:Solution Hose connector is not installed properly
How to Fix:Unwrap Hose, and disconnect plastic Solution Hose connector at end of small tubing and wire from machine by pinching on top and bottom. Reconnect Solution Hose connector, making sure that it clicks into place. Check additional connections to ensure they are installed properly.
Issue:Dirty Water Tank Is full
How to Fix:Empty Dirty Water Tank and replace empty tank when finished.

Issue:Dirty Water Tank is not locked or installed correctly
How to Fix:Lift up Dirty Water Tank and place back into position.

Issue:Vacuum Hose connector is not installed properly
How to Fix:Unwrap Hose and disconnect Vacuum Hose connector at end of large vacuum hose. Reconnect Vacuum Hose connector, making sure that it is fully inserted into the opening.

Issue:Kink or obstruction in Vacuum Hose
How to Fix:Unkink or remove obstruction in Vacuum Hose.
Issue:Obstruction in brush roll
How to Fix:Turn machine off and unplug Power Cord from outlet. Check that there is nothing stopping the brush roll from rotating. The Brush Roll can be removed by one screw on the bottom of the Motorized Upholstery Tool if necessary. Clean and check that the Brush Roll spins freely. Replace the Brush Roll and secure with screw, then plug in the machine and turn the machine on to continue cleaning.