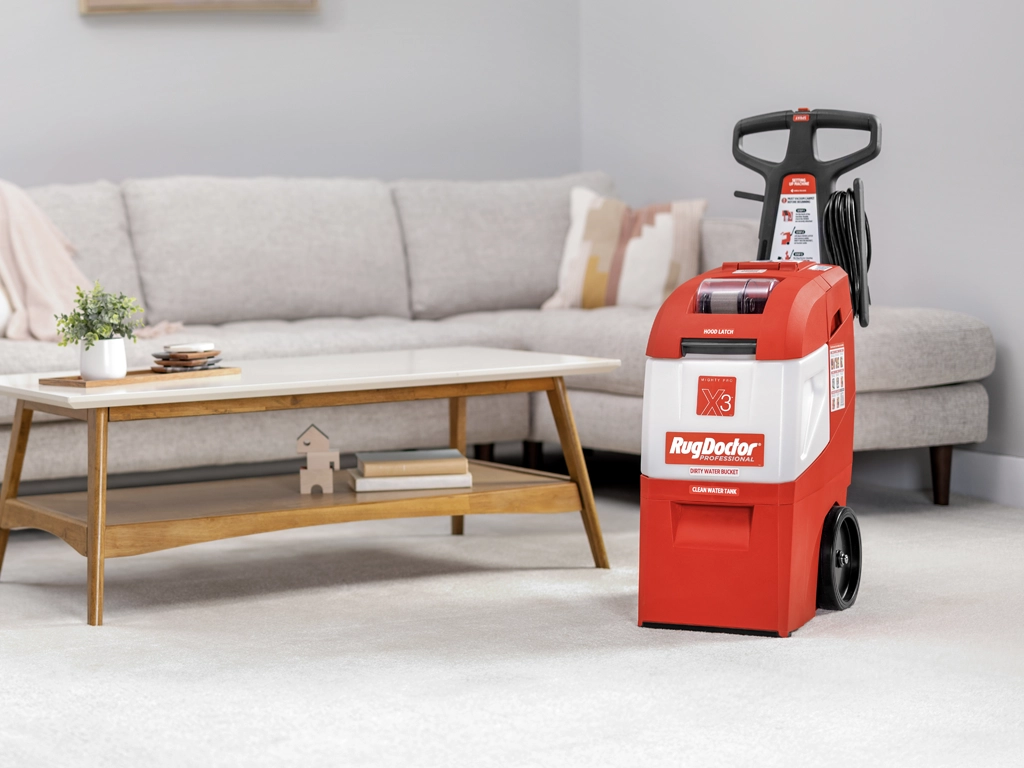
Rug Doctor® carpet cleaning machines have been manufactured, tested, and inspected in accordance with Rug Doctor’s high standards of quality. Rug Doctor Pro-Deep & X3, Wide Track, And Mighty Pack Carpet Cleaners (“Machine”) are backed by a one (1) year limited consumer and commercial warranty.
ONE-YEAR LIMITED CONSUMER AND COMMERCIAL WARRANTY
Rug Doctor gives you, the original United States purchaser, who retains proof of purchase from Rug Doctor or an authorized Rug Doctor Dealer, this limited (“warranty”) for your Machine acquired for normal household or commercial use (rental use is excluded). You are responsible for notifying Rug Doctor within thirty (30) days of original purchase if any parts or components are missing on your Machine. The purchase receipt showing the date, price, and item of purchase is the initial document of proof of purchase, and it determines the validity of your warranty. To ensure that your warranty is successfully processed, please retain your original purchase receipt and mail in the warranty card that was provided with your new machine. You may also complete warranty registration at Register Your Warranty. You are responsible for registering your machine, either by mailing in your warranty card or registering through our website, within thirty (30) days of purchase.
WHAT DOES THIS WARRANTY COVER / HOW LONG DOES THE WARRANTY LAST?
Rug Doctor will, for the original purchaser, repair or replace any part that is defective in material or workmanship for your Machine within the Warranty period listed above within one (1) year or purchase date; one (1) year on outer housing parts.
WHAT THE WARRANTY DOES NOT COVER
The following exclusions apply for Machine and part(s) failures due to: 1) normal wear and tear, accident, other casualty, neglect, improper maintenance, improper use, unauthorized setting; 2) machine alterations; 3) abuse or misuse of the machine, including use not in accordance with the “User Guide;” 4) machines that have not been assembled, used, or maintained in accordance with the operating instructions; 5) defects or damage caused by service or parts provided by non-authorized Rug Doctor dealers; 6) normal maintenance, such as the removal of clogs or cleaning brush rollers; 7) damaged caused by external sources such as liquids, hot materials, weather or proximity to heat. Rug Doctor does not warranty any individual parts for the machine for consumer purchase or commercial purchase. All individual machine parts are excluded from the warranty. This warranty does not provide for a refund of the purchase price. For best operating efficiency and cleaning, use of Rug Doctor products is recommended. Use of the machine for rental voids the warranty and is not permitted under Federal Law (see “UNAUTHORIZED USE” statement below). Rug Doctor is not liable for any consequential or incidental damages of any nature involving the purchase/use of your machine. In no event shall Rug Doctor’s liability exceed the purchase price of the machine. Some stares do not allow the exclusion of limitation of incidental or consequential damages, so the above limitations or exclusion may not apply to you. ALL OTHER WARRANTIES, WHETHER ORAL OR WRITTEN, ARE EXPRESSLY DISCLAIMED. THE IMPLIED WARRANTIES OF MERCHANTABILITY, AND FITNESS FOR A PARTICULAR PURPOSE, WHICH MAY ARISE BY OPERATING OF LAW, ARE LIMITED TO ONE (1) YEAR FROM THE PROVEN DATE OF PURCHASE UNLESS APPLICABLE STATE LAW PROVIDES OTHERWISE.
EXPENSES
If a machine is returned to a warranty center for repair within thirty (30) days of original purchase, Rug Doctor pays freight charges both to the warranty center and back to you. Thereafter, you may be directed to take the machine to a local repair center or required to ship the machine to a Rug Doctor warranty center should additional repairs be required during the warranty period. During the warranty period, but after the initial thirty (30) days, you will be responsible to pay any freight charges for shipment to the warranty center for repairs. Rug Doctor will pay the freight charges to return your machine to you. If Rug Doctor determines that a machine is unable to be repaired, Rug Doctor reserves the right to elect to replace the machine with a refurbished or used one of the same model. The original warranty period will remain in place for any replacement machine; the warranty will not start over.
HOW STATE LAWS APPLY
This warranty gives you specific legal rights. You may also have other rights that vary from state to state.
UNAUTHORIZED USE
Use of this machine with Rug Doctor Trademarks for rental purposes is UNAUTHORIZED and is in violation of U.S.C. Section 1114(I) and 15 U.S.C. Section 1125(a).
PLEASE DO NOT RETURN THIS PRODUCT TO THE STORE
HOW DO I GET SERVICE UNDER THIS WARRANTY?
To obtain warranty assistance, please call 1-800-RUG DOCTOR (1-800-784-3628), or email consumer.support@www.rugdoctor.com. Rug Doctor will need the following information in order to assist you: your name, address, telephone number, product model, serial number, and proof of purchase showing date and place of purchase. Please explain the nature of the problem. Rug Doctor will review all the facts involved and advise you as to recommended procedure. We recommend you keep the original carton and packing materials. Rug Doctor does not provide any boxes or packing materials.
SERVICING YOUR MACHINE
Find a repair location here: Repair Locations
CONSUMER SERVICE CONTACT INFORMATION
For any questions or concerns, please contact a customer service representative. Find all contact information and hours here: Contact Us
WARRANTY REGISTRATION
Register your warranty here: Warranty Registration
This information is subject to change at any time without notice.
