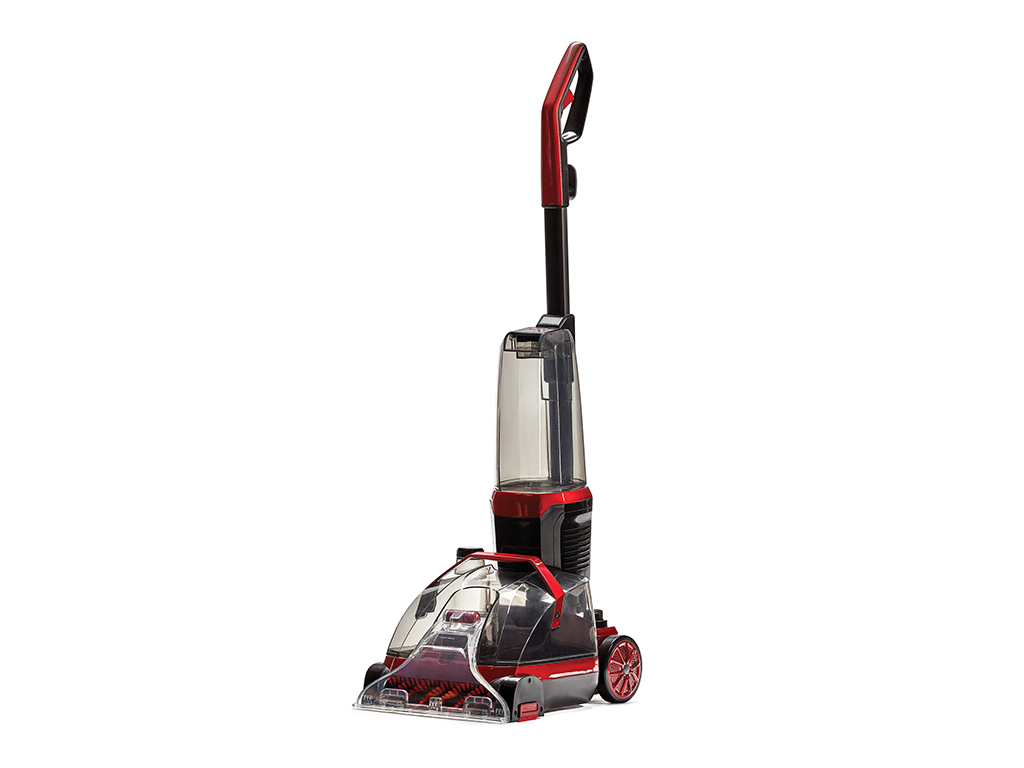
Prepare the Machine
The Clean Water Tank is the top tank located on the front of the machine. Push the Clean Water Tank Release Button and lift the tank in an outward motion. Turn the tank upside down, unscrew and remove the cap. Fill the tank with HOT tap water until it reaches the “Fill” line. Add Rug Doctor® cleaning solution as directed on bottle (the tank is approximately 1 gallon). Screw the cap back on, turn the tank right side up and securely place on the machine. You will hear a “click” sound when the tank is locked into place.
Cleaning Your Carpet
Vacuum area thoroughly with vacuum cleaner before cleaning.
Attach the Carpet Nozzle by aligning the nozzle tabs with the slots in the base of the machine. Rotate nozzle towards machine. Latch the nozzle by pressing down on the top until you hear a “click.” Turn the Flow Control Dial to the DEEP CLEAN or QUICK DRY setting based on desired cleaning. Unwrap the Power Cord and insert plug into a properly grounded outlet. Position the machine onto the desired area to clean. Push the Power Switch to FLOOR CLEANING position. Step on the Handle Release Pedal at the back of the machine to pull back the main handle. Press the Soap & Scrub Trigger to apply solution. Make 2 slow wet passes (1 forward, 1 back) over each area. For heavily soiled areas, make up to 4 wet passes. Release trigger about 6 inches from stop point to ensure solution is removed. Leave the machine on for 15 seconds after cleaning for all of the dirty solution to be collected in the Dirty Water Tank.
Cleaning Your Hard Floors
Sweep or vacuum area thoroughly before cleaning.
Attach the Hard Floor Nozzle by aligning the nozzle tabs with the slots in the base of the machine. Rotate nozzle towards machine. Latch the nozzle by pressing down on the top until you hear a “click.” Turn the Flow Control Dial to the HARD FLOOR setting. Unwrap the Power Cord and insert plug into a properly grounded outlet. Position the machine onto the desired area to clean. Push the Power Switch to FLOOR CLEANING position. Step on the Handle Release Pedal at the back of the machine to pull back the main handle. Press the Soap & Scrub Trigger to apply solution. Make 2 slow wet passes (1 forward, 1 back) over each area. Release trigger about 6 inches from stop point to ensure solution is removed. Leave the machine on for 15 seconds after cleaning for all of the dirty solution to be collected in the Dirty Water Tank.
Using the Upholstery Tool
If the Nozzle is attached, remove from machine by pressing the Nozzle Release Button to unlock. Rotate the nozzle away from the base of the machine to remove. Attach the Upholstery Tool by inserting the Tool Connector in the Upholstery Tool Port locating behind the Nozzle. Turn the Flow Control Dial to the DEEP CLEAN or QUICK DRY setting based on desired cleaning. Unwrap the Power Cord and insert plug into a properly grounded outlet. Push the Power Switch to UPHOLSTERY CLEAN position. Position the Upholstery Tool in front of the area or stain you want to deep clean. Squeeze the Spray Trigger on the Upholstery Tool to begin cleaning. Move the tool back and forth over the area, make sure to press the top (suction) nozzle down onto the surface. Release the Spray Trigger and move the tool back and forth over the same area to suck up dirty water. Leave the machine on for 15 seconds after cleaning for all of the dirty solution to be collected in the Dirty Water Tank.
Turn the machine off by pressing the Power Switch down to the center OFF position. Unplug the machine. Remove the Upholstery Tool by squeezing on the sides of the connector and pulling from the Upholstery Tool Port. Reattach the Soft Surface or Hard Surface Nozzle.
Clean and Store the Machine
Turn the machine OFF, unplug and wrap the Power Cord. Remove the Dirty Water Tank by grasping the Tank Handle and lifting straight up. Unscrew the cap and set aside. Pour out the dirty water and rinse the tank thoroughly with warm water. Allow the tank to dry thoroughly to prevent odor when stored. Replace the cap and place tank back on the machine when ready. Press the Clean Water Tank Release button and remove the tank from the machine. Empty and rinse thoroughly with warm water. Allow the tank to dry thoroughly to prevent odor when stored. Replace on the machine when ready. Move the machine to a closet or storage place, do NOT store the machine on floors that may be damaged by water.
For a deeper clean of the machine, turn the machine off and unplug then:
Dirty Water Tank: Remove the tank and turn upside down to locate the Float Cap. Unscrew the float cap and remove the Float Assembly. Clean inside the tank with a towel or cleaning brush. Replace the float assembly and firmly tighten the cap.
Brush Roll: Remove the Clean Water Tank and Dirty Water Tank. Gently lay the machine down on its side to access the Brush Roll. Remove any debris.
