Step 1: Check Fabrics and Prepare the Area
Check the manufacturers tag for cleaning instructions. If there is a W or W/S on the tag it means you can use water for cleaning and you can clean it with a spot cleaner. If it is coded S or X or says “Dry Clean Only”, do not use the spot cleaner and contact the manufacturer for cleaning instructions.
Always test the cleaning solution and spot cleaner in an inconspicuous spot or hidden area and allow it to dry before proceeding. If upholstery color is affected, do not use the spot cleaner.
Thoroughly vacuum the upholstery, stairs, rug or area before you begin using the spot cleaner.
Step 2: Prepare The Machine
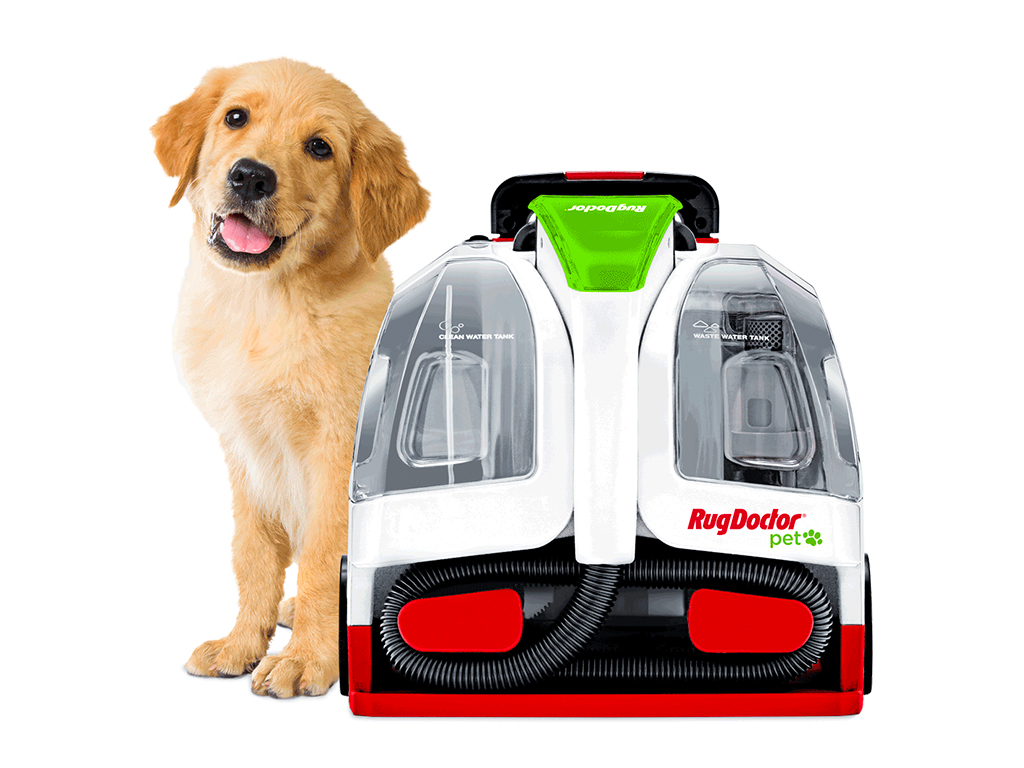
Remove the Clean Water Tank by lifting straight up and away from machine. Unscrew the cap and remove with the tube. Add hot top water, filling to the “Clean Water” line marked on the tank. DO NOT BOIL OR MICROWAVE WATER. Add Rug Doctor® cleaning solution to the hot tap water, filling to the “Soap” line on the tank. Recommended use is 4oz per 1 gallon. The tank is 1/2 gallon so you will only need 2oz per use. Insert the tube and replace cap on tank. Turn to tighten. Replace the tank by setting it straight down into the machine, pressing down firmly until secure.
Lift the Dual Action Pet Tool from the machine and completely unwrap the flexible hose. Rotate the cord wrap hooks on the back of the machine to release the power cord. Unwrap completely. Plug the machine into a properly grounded outlet and press the power button to the ON position.
Step 3: Deep Clean Your Upholstery or Carpet
Pre-treat any heavily stained or soiled areas by holding the Dual Action Pet Tool just above the area to be cleaned and pressing the Soap Trigger to mist solution over the soiled areas. Let cleaning solution set for 5 minutes before cleaning.
To clean the area, position the tool in front of the stain or area with the head at a slight angle to ensure the front nozzle is touching the surface. Squeeze and hold the Soap Trigger to spray cleaning solution over and onto the soiled area. Pull backwards SLOWLY over the soiled area to clean. Release the Soap Trigger when complete. Repeat as needed. Excess solution can be removed by making additional “dry” passes with the tool without squeezing the trigger. This may permit faster drying.
After cleaning keep machine ON for 15 seconds to allow for all of the dirty solution to be collected into the Waste Water Tank. Remove and empty the Waste Water Tank when the dirty water reaches the “FULL” line, see instructions in Step 4.
Step 4: Clean and Store Your Machine
Turn machine off by pressing the power button to the OFF position. Wrap the flexible hose around the hose wraps. Replace Dual Action Pet Tool on machine. Remove and empty the Clean Water Tank, rinse with clean water, fully dry, and replace on machine securely. Remove and empty the Waste Water Tank . Be sure to keep the tank in an upright position when removing, do not tilt the tank. Empty the tank over a toilet or outside by turning the tank on its side where “Easy Empty Pour Spout” is marked. Carefully empty waste water until empty. After waste water is removed, turn tank upside down, unscrew lid and remove float assembly from tank. Rinse tank and float assembly and let air dry. Once dry, replace float assembly and firmly tighten the lid. Place Waste Water Tank back on machine and press down firmly until secure. Place the retractable handle in the recessed position for compact storage. Keep in a protected, dry area at room temperature.
