Rental Support
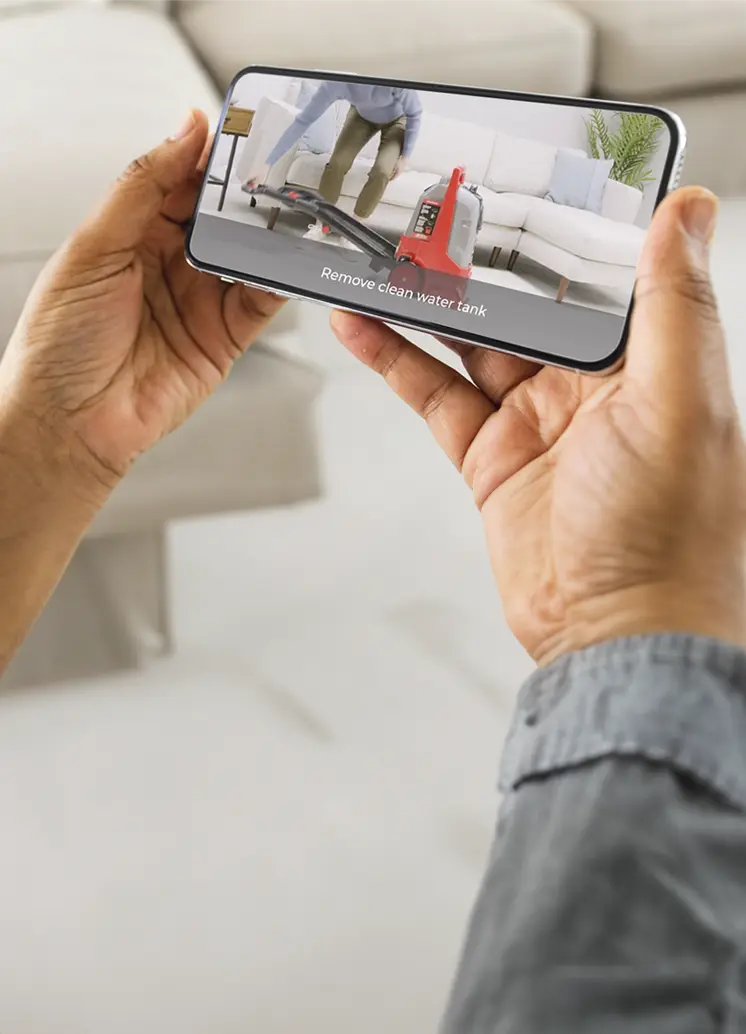
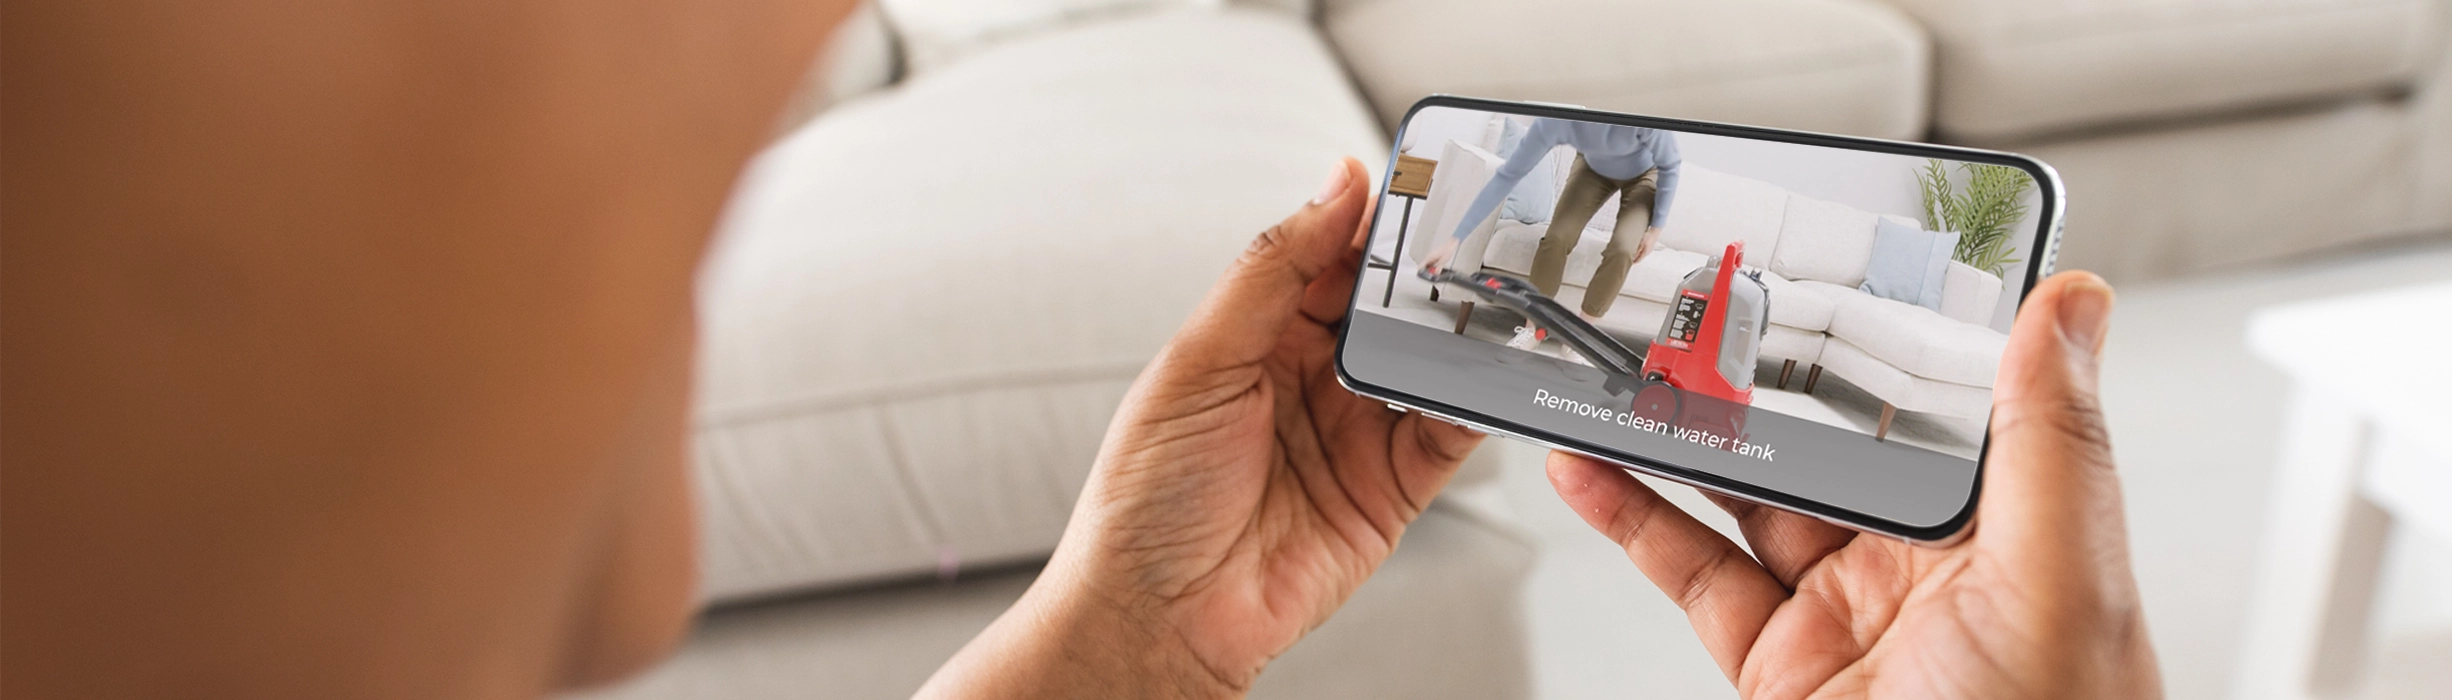
Have a question about your rental? Get the help you need here. Select your rental machine below for how-to videos and instructions, troubleshooting and more.
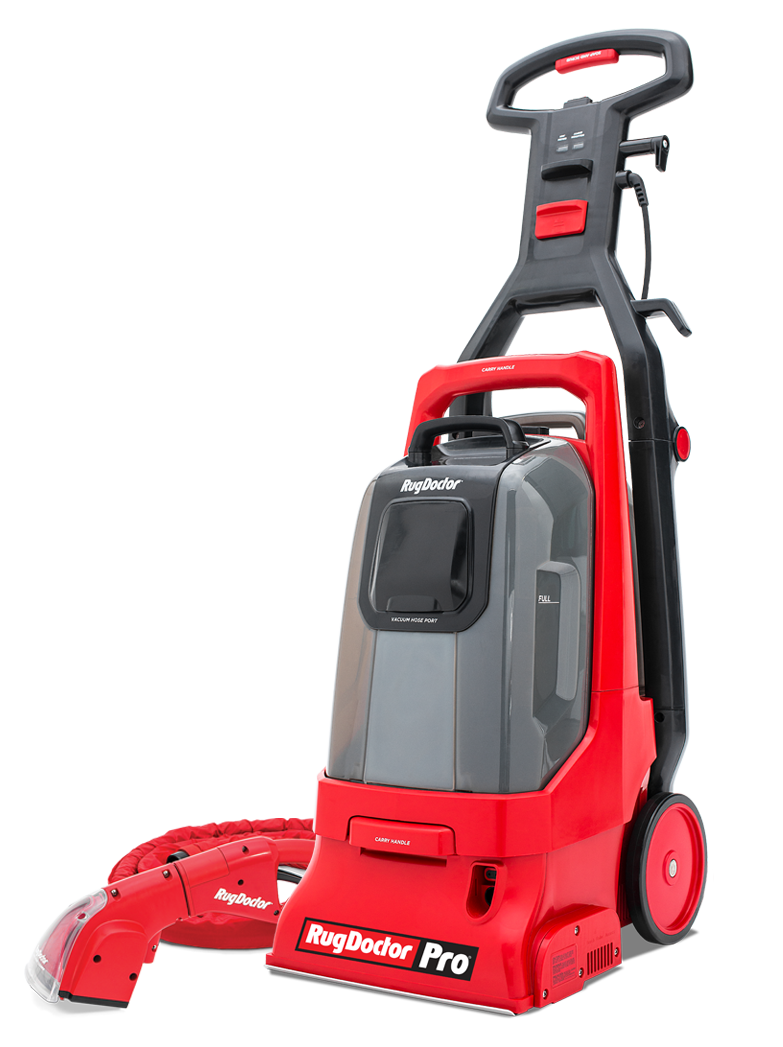
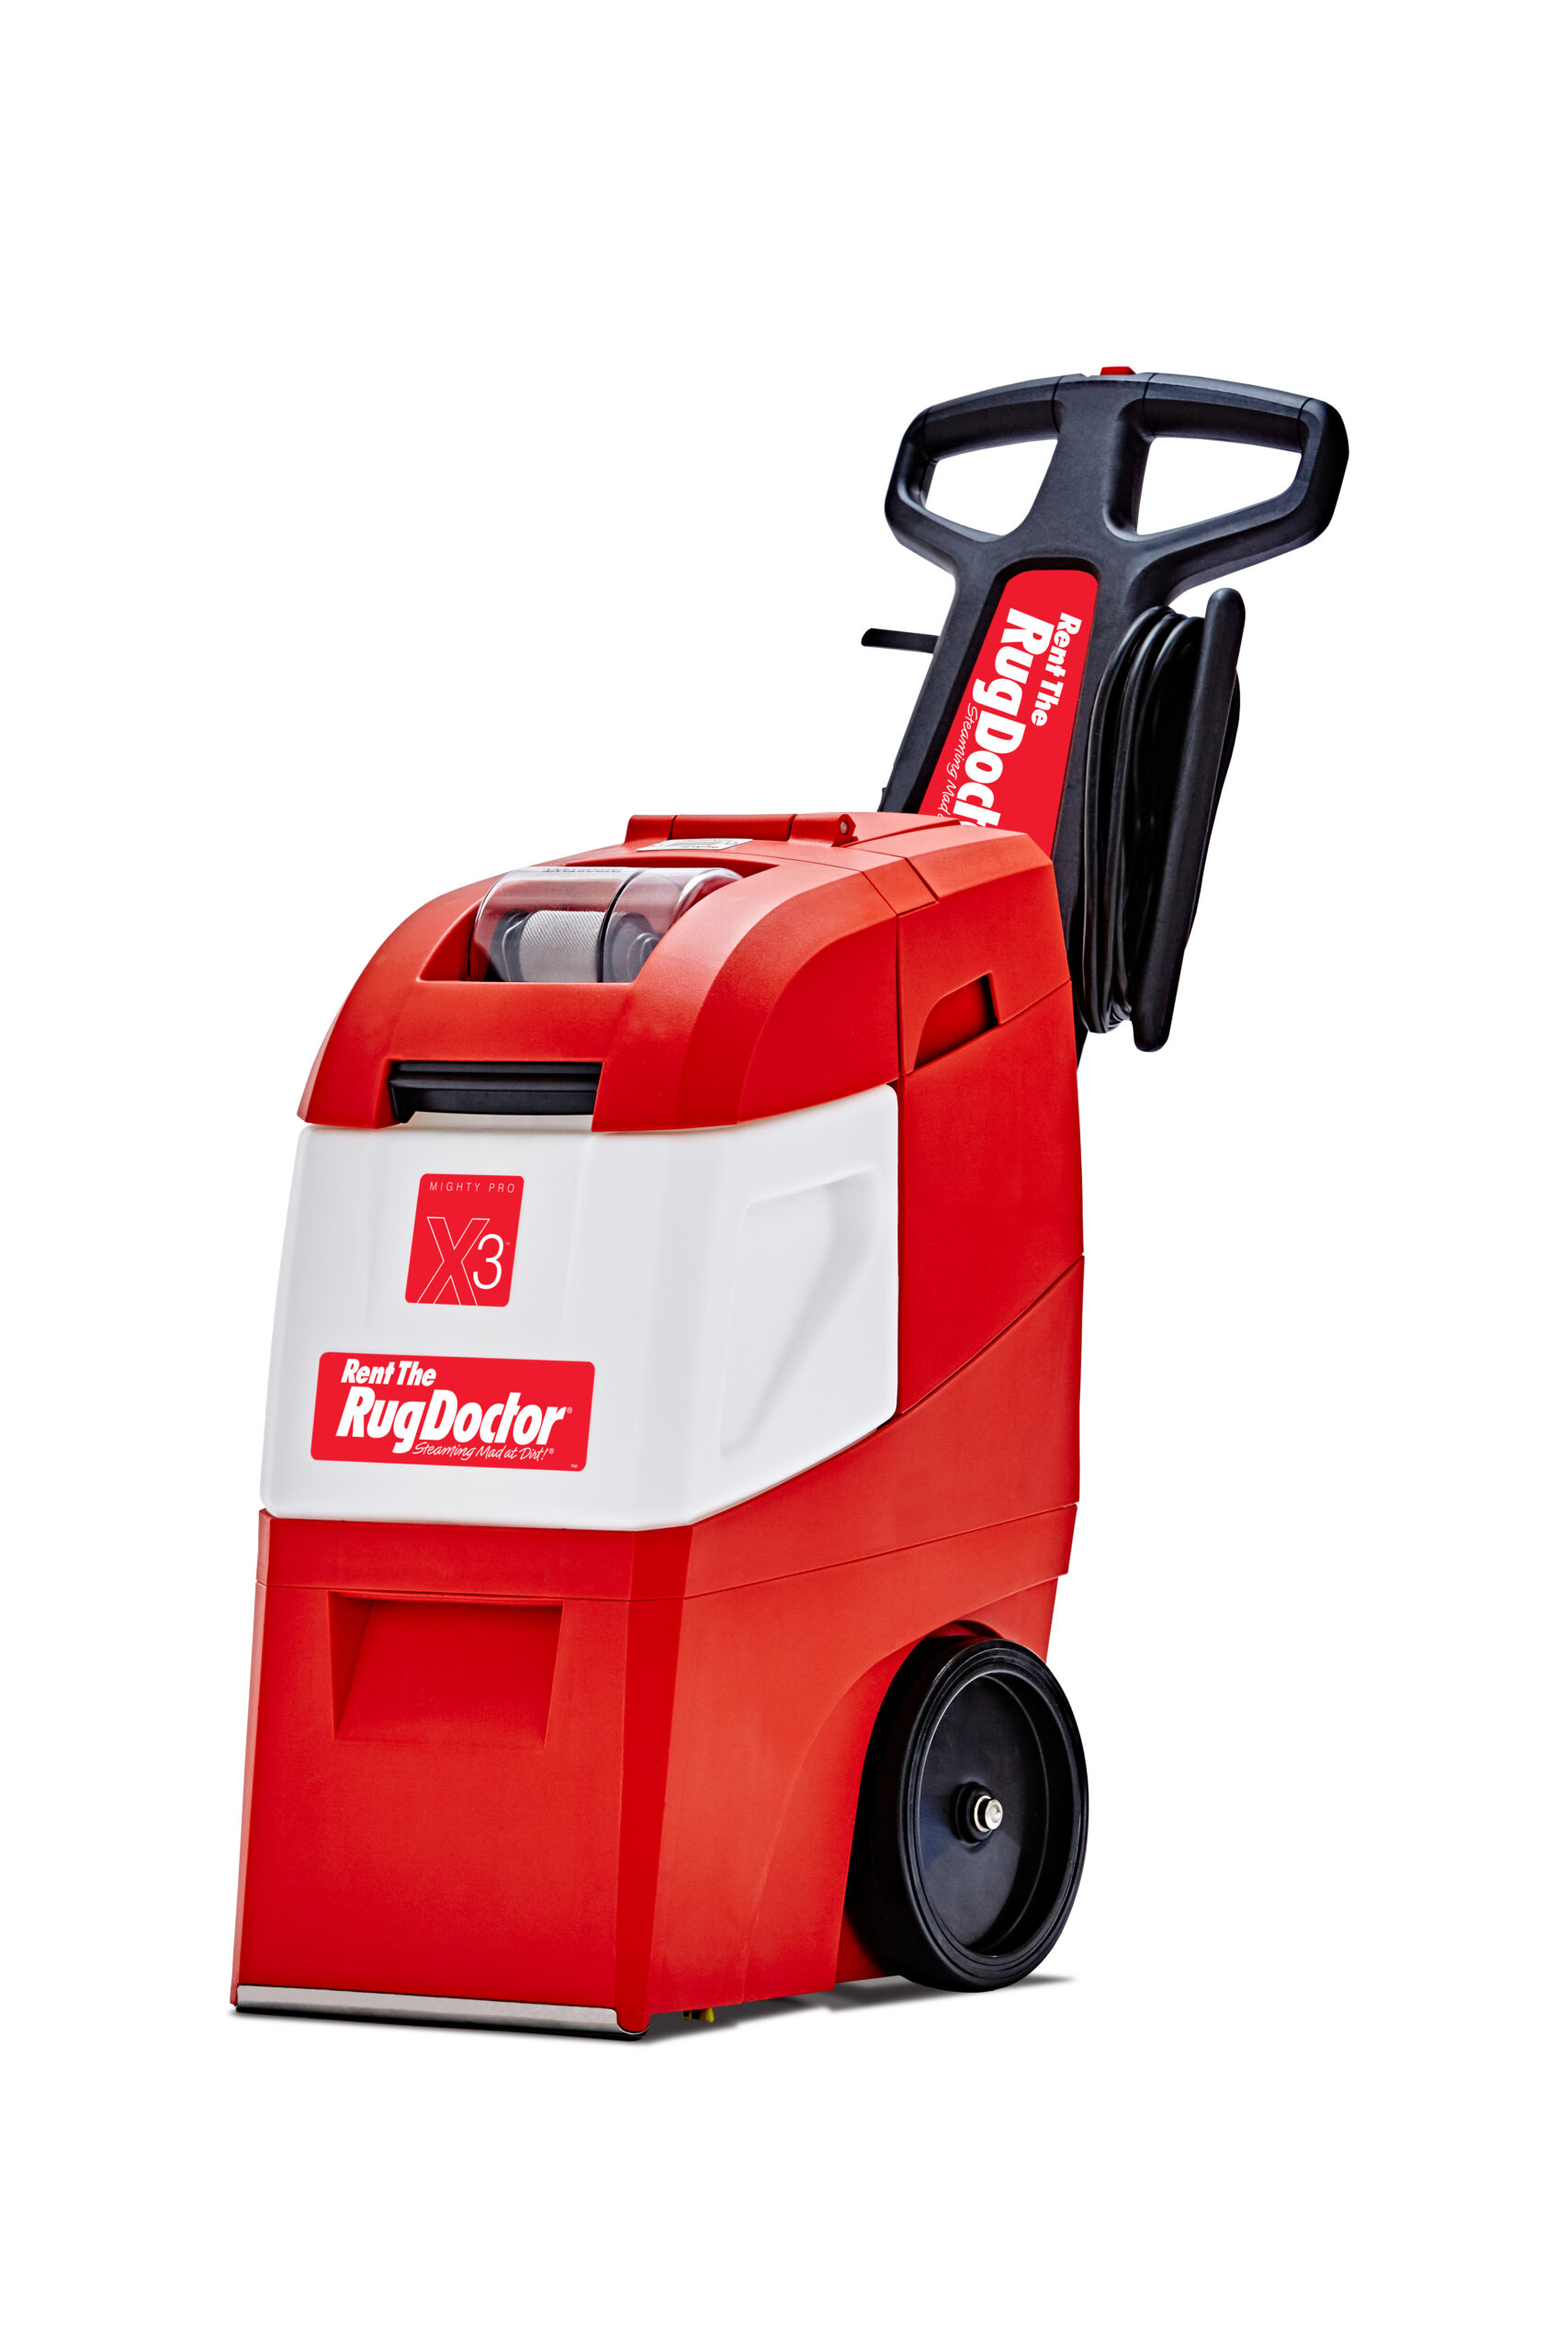
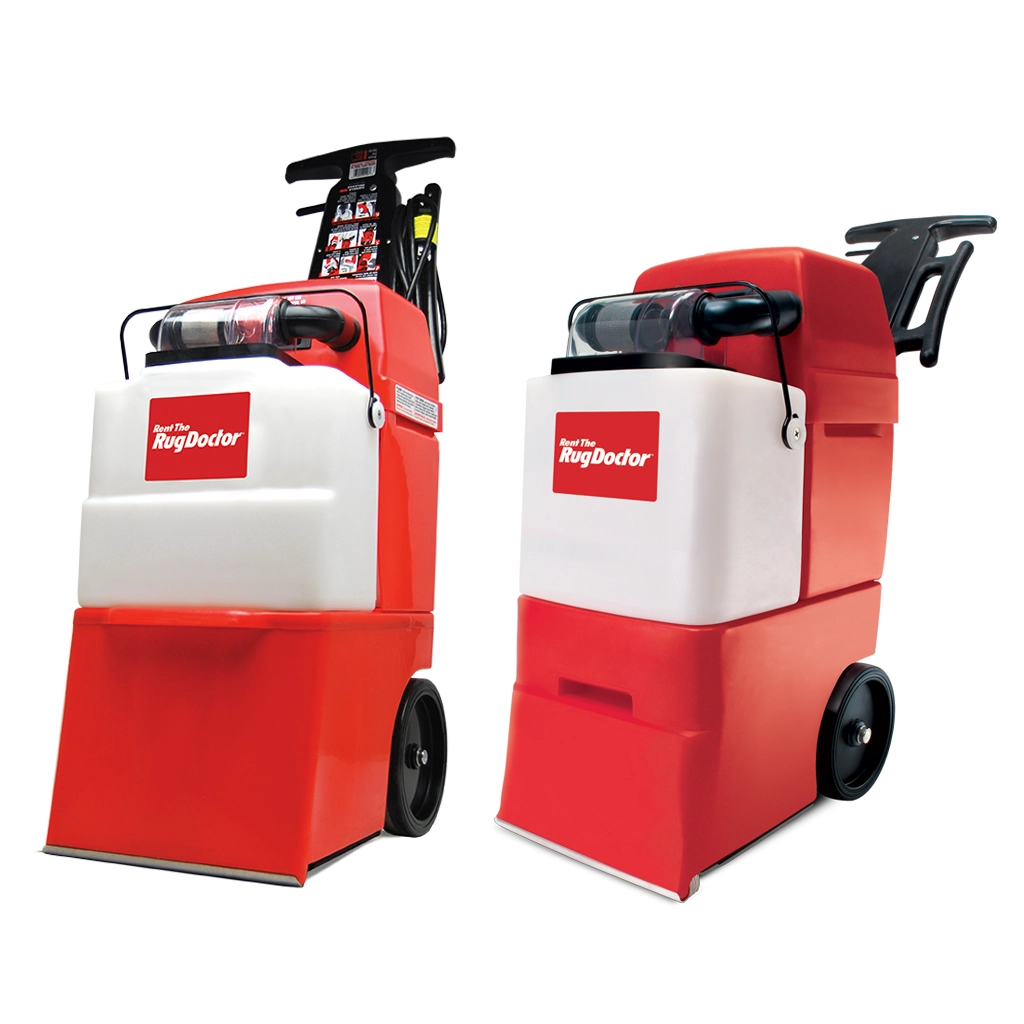
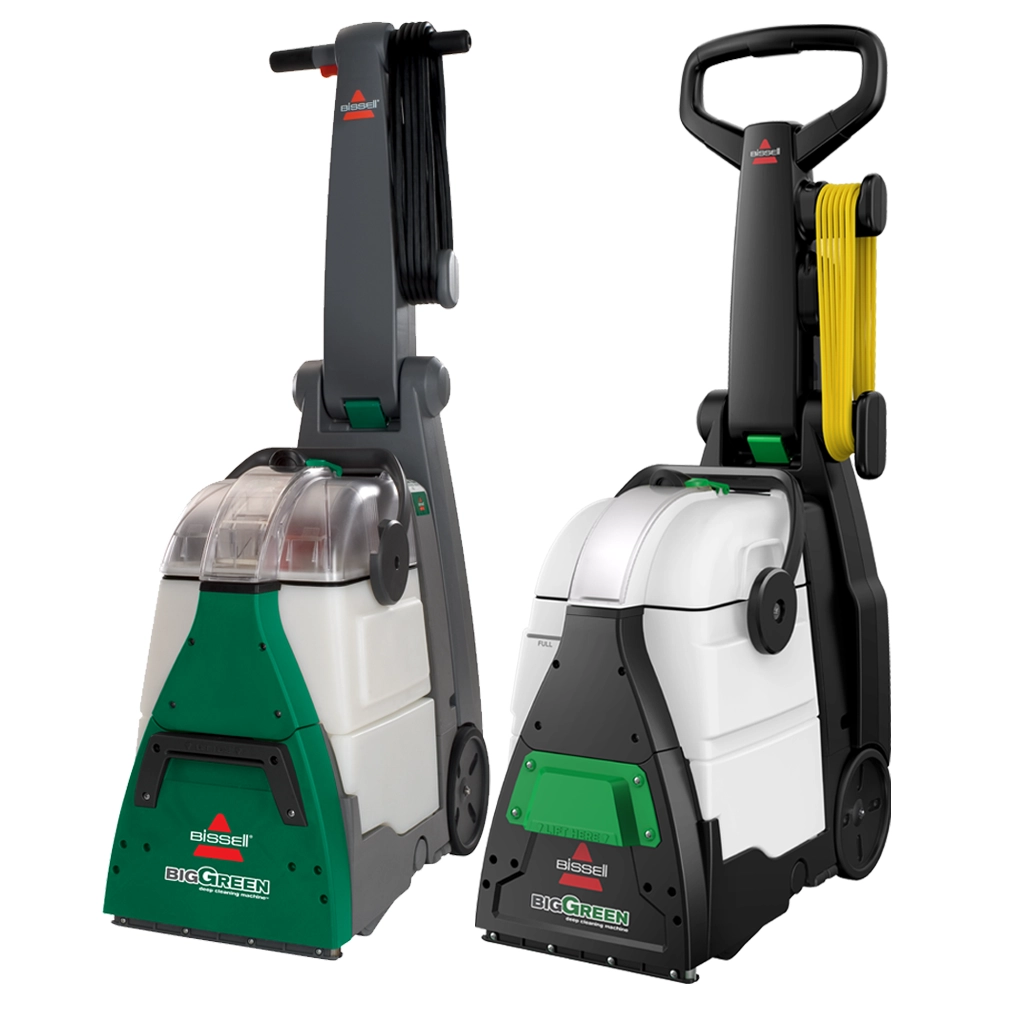
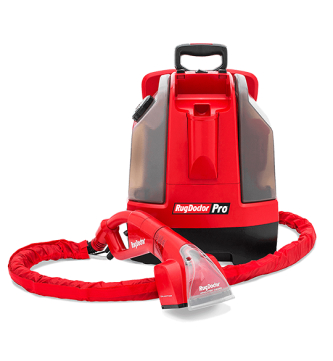
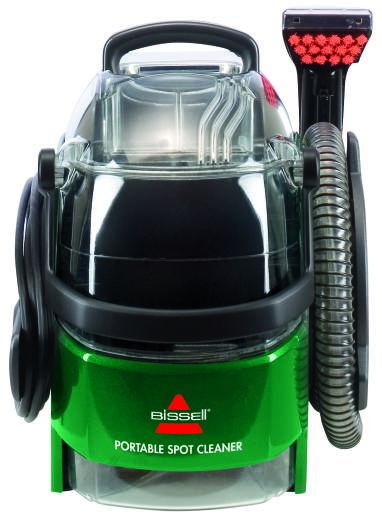
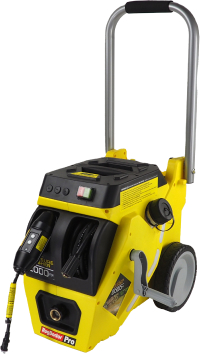
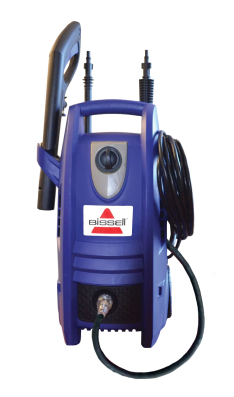
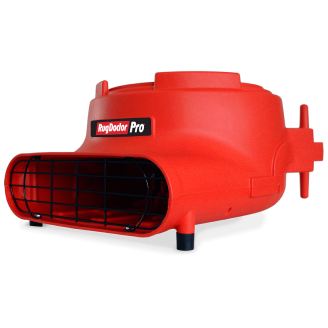
Select The Machine You Rented
Get help including how to videos and instructions for cleaning carpet, upholstery and the machine plus troubleshooting and more.
Rental Incident Report
Use this form to report an incident that you believe personal or property damage was caused by a rental product.
SDS & Ingredients
View Safety Data Sheets (SDS) and cleaning solutions ingredients.